The Graphic Block
Everything You Ever Wanted to Know about using the Graphic Block in EZ-PageBuilder!This tutorial explains how to add a graphic to a page, as well as the options that can be applied to the Graphic Block. How to Add a Graphic to Your Web pageAdding a graphic in EZ-PageBuilder is easy to do! However, it's important to know that before you can add a graphic to any webpage, you must upload it first. If you don't already know how, click here to Learn How to Upload an Image.
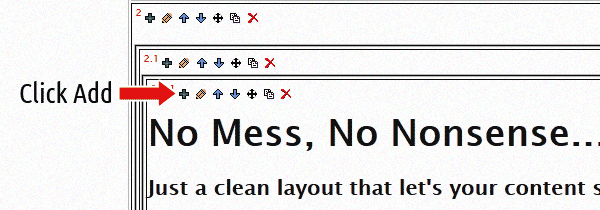
1. Click the  Add icon on a block in your page. Add icon on a block in your page.
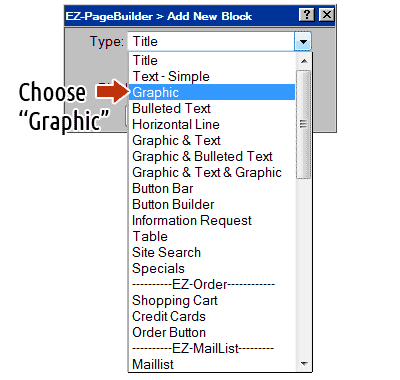
2. Click the dropdown
3. Choose Graphic
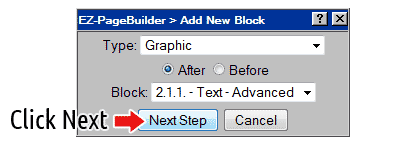
4. Click Next Step
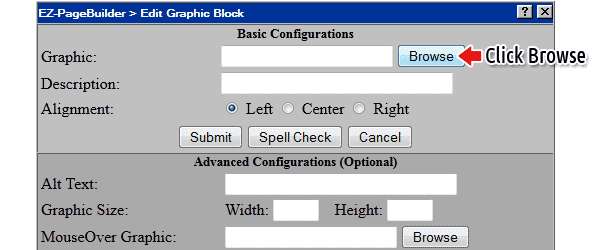
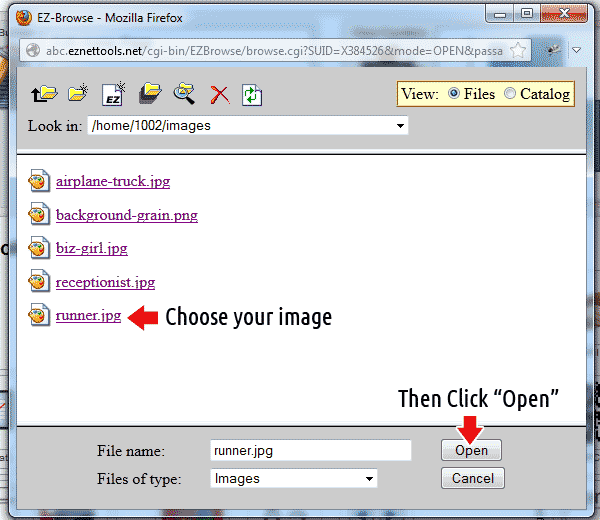
5. Once in the graphic block, click Browse
6. Click the image you want to add, and then press 'Open'
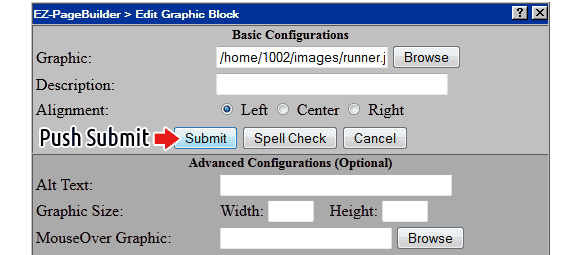
7. Then Push Submit
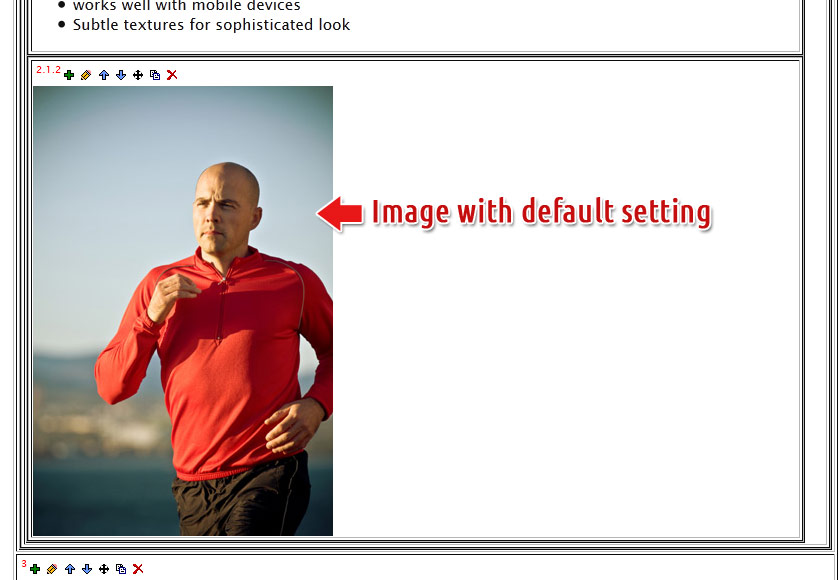
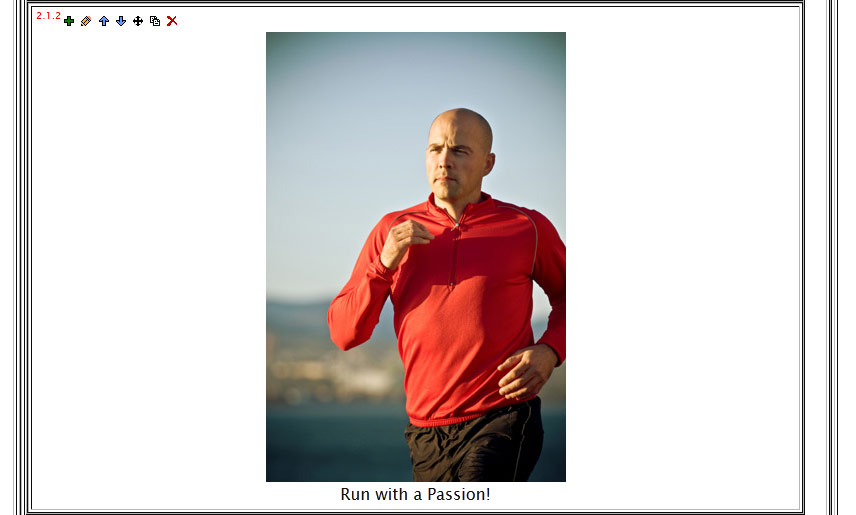
8. Here's the result! That's really all you need to do!
The rest of this tutorial will teach you about the options in the graphic block.
Graphic Block Options
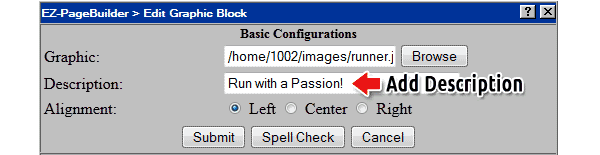
Description
Add a caption under your image. You can even change the color and size of the text (which we will cover later).
Here's what it looks like by default...
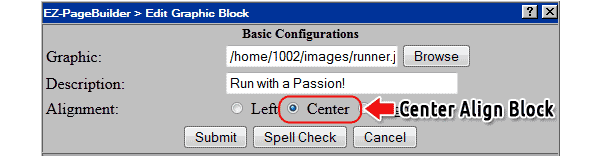
AlignmentAlignment will position the image in the left, center, or right of it's container. Notice both the image and text are now centered.
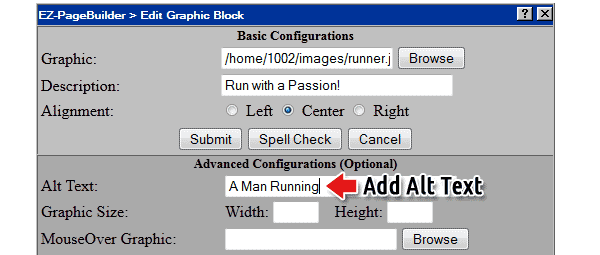
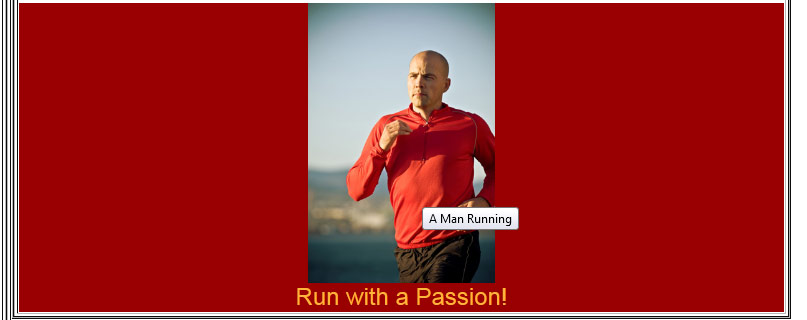
Alt TextYou can add a description of your image in the Alt Text. This allows search engines to index your images, and also describes the image to people who may be vision impaired.
Alt Text also appears when you hover over an image.
Graphic Size
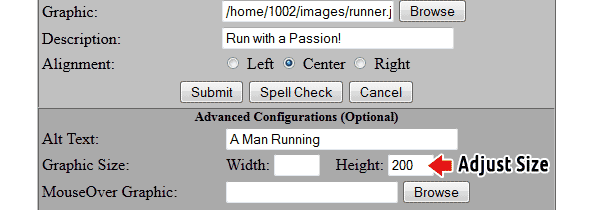
You can set the Width or the Height of an image to adjust it's size.
Note: You don't have to change both the width and height. If you change one, the other will scale automatically.
By setting the height to 200 pixels, the width was automatically calculated so the image doesn't distort.
MouseOver GraphicThis allows you to switch an image when a user hovers over it with their mouse. See an Example
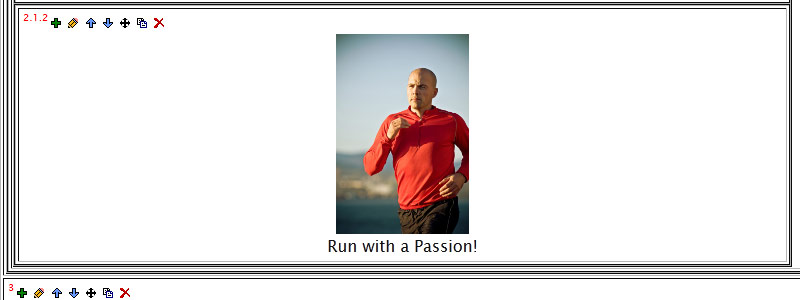
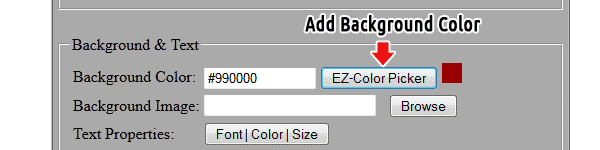
Background ColorChange the color behind the image. You could also add a background image (like a texture).
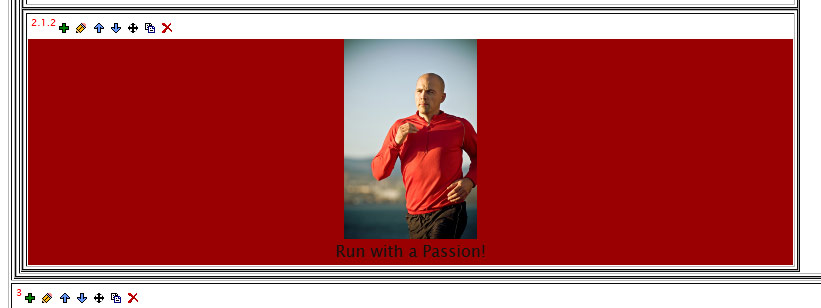
Here a dark red background is applied to the box around the image. All backgrounds are transparent by default.
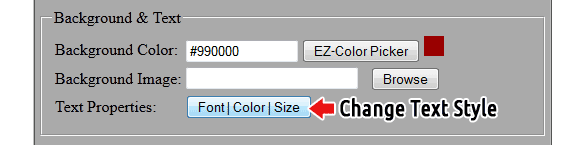
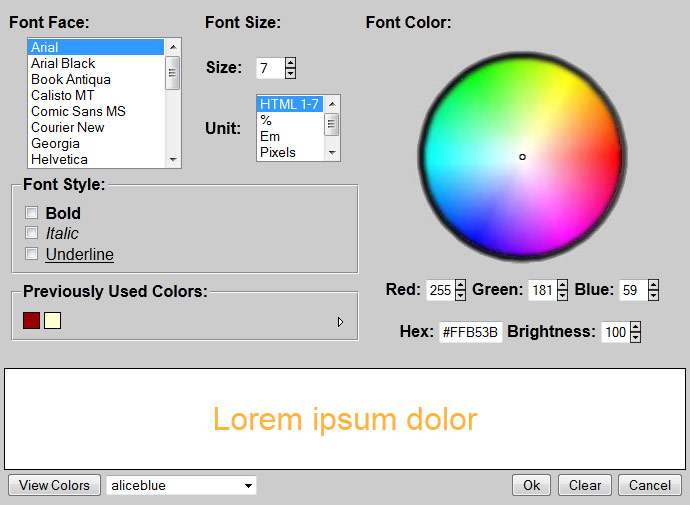
Text PropertiesClick the Font|Color|Size button to change how the description text looks.
You can change the color, size, or font of your text. A preview is shown at the bottom.
By making the text yellow-orange, it shows up better against the dark red background.
Putting The Image Next to text
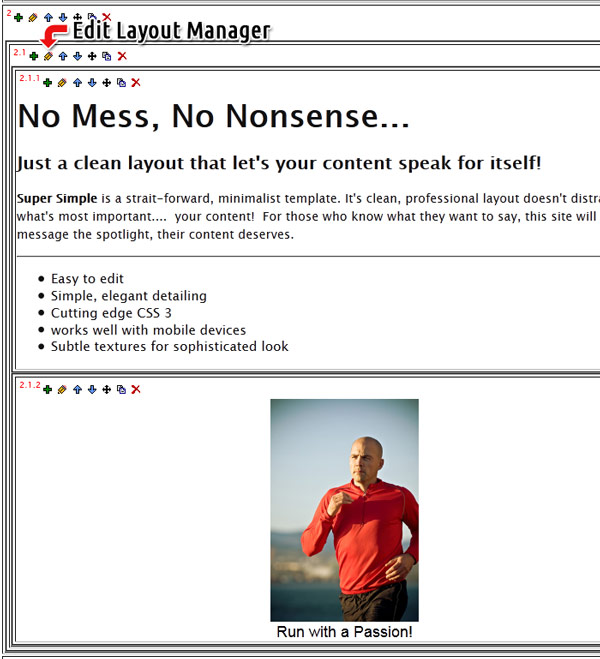
To put a graphic block next to something we need to have a layout manager around them.
Block 2.1 is around the text block and the graphic block.
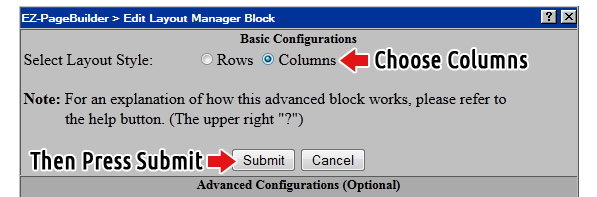
Click the  edit icon on the layout manager to change it to a columns format. edit icon on the layout manager to change it to a columns format.
Select Columns and then press Submit.
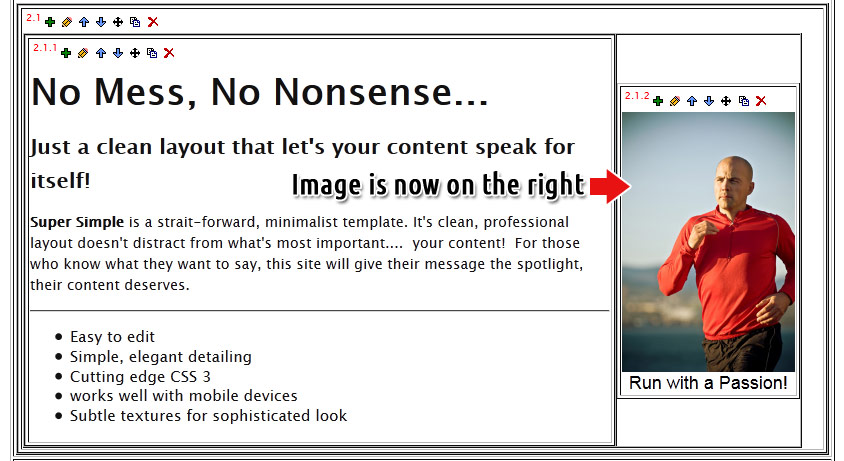
The image is now to the right of the text.
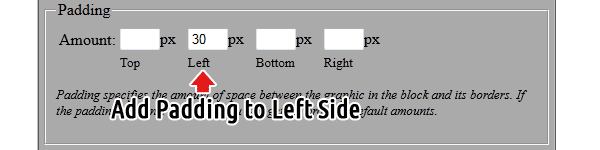
PaddingIf we go back to edit the graphic block, we can add padding the the left side.
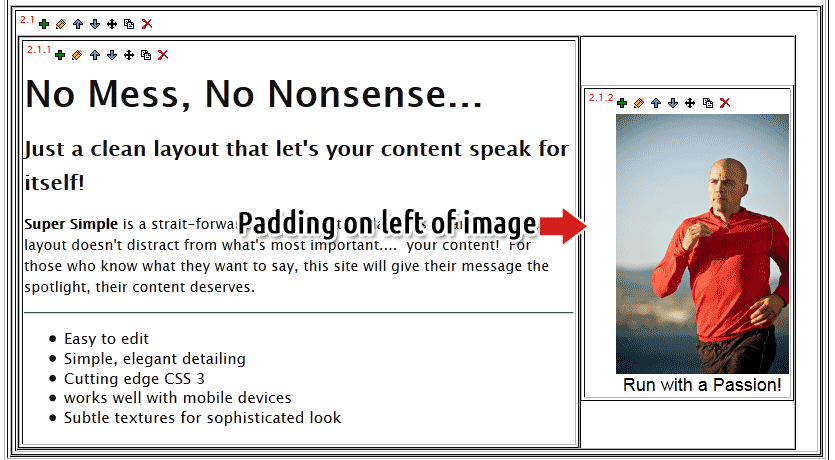
This provides a nice space between the text and the image. Using padding between images and text will help your website look more professional, and make it easier for people to read.
If you need further assistance with adding or editing the Graphic Block, you can call EZ-NetTools Technical support at 800-460-9368.
|